Bowmore 16 Year Old 1989 vs Pittyvaich 12 Year Old - Flora and Fauna
Side-by-side comparison — price, ABV, scores, tasting notes, pros & cons.
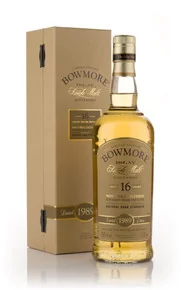
Bowmore 16 Year Old 1989
Bowmore
★ 5.00
£499
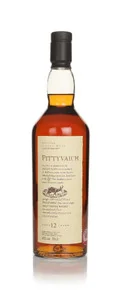
Pittyvaich 12 Year Old - Flora and Fauna
Pittyvaich
★ 5.00
£350
| Bowmore 16 Year Old 1989 | Pittyvaich 12 Year Old - Flora and Fauna | |
|---|---|---|
| Distillery | Bowmore | Pittyvaich |
| Region | Islay | Speyside |
| Country | Scotland | Scotland |
| Type | Single Malt | Single Malt |
| ABV | 51.8% | 43% |
| Age | 16 yr | 12 yr |
| Price | £499 | £350 |
| Rating | 5.00/5 | 5.00/5 |
Bowmore 16 Year Old 1989
Pittyvaich 12 Year Old - Flora and Fauna
Bowmore 16 Year Old 1989
Pittyvaich 12 Year Old - Flora and Fauna
Quick verdict
Pittyvaich 12 Year Old - Flora and Fauna is better value at £350 vs £499.
For beginners: Pittyvaich 12 Year Old - Flora and Fauna is more approachable (70/100 beginner score).
Bowmore 16 Year Old 1989
Pros
- +Balanced smoky character without being overwhelming
- +Longer maturation (16 vs 12 years)
- +Rich oak and wood spice complexity
Cons
- −High ABV (51.8%) — may need water
- −More expensive (£499 vs £350)
- −Dry and austere — not for those who prefer sweeter drams
Pittyvaich 12 Year Old - Flora and Fauna
Pros
- +Great entry point for new whisky drinkers
- +Better value for money
- +More affordable (£350 vs £499)
- +More widely reviewed by the community
Cons
- −Lacks smoke character compared to the alternative
Who should buy Bowmore?
Bowmore 16 Year Old 1989 is for enthusiasts who appreciate cask-strength intensity. Best enjoyed with a few drops of water to open up the flavours. Not ideal for casual drinking or beginners.
Who should buy Pittyvaich?
Pittyvaich 12 Year Old - Flora and Fauna suits whisky enthusiasts looking for a well-rounded, complex dram. It rewards those with some experience and an appreciation for Speyside character.
Tasting notes
Only Bowmore 16 Year Old 1989
Only Pittyvaich 12 Year Old - Flora and Fauna